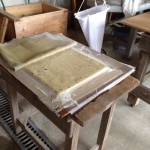
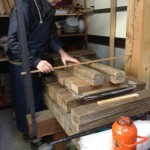
There have been so many unexpected, special encounters with people here, leading me from one person to the next and from one surprising discovery to another. “Ichi-go ichi-e,” I can’t remember if it was Yohei or Chikako at Kamikoya who first mentioned this age-old saying from Zen Buddhism and the tea ceremony to me. Translated, it means, this chance meeting of a lifetime – a moment to be treasured and taken advantage of, because it may never happen again.
Most of what I know about papermaking I’ve learned through trial and error, reading and a weekend course in paper casting that I took about 25 years ago, taught by Lyn Forgach at the Atelier de L’Ile printmaking studio in Val David, just north of Montreal. I’ve made lots of paper using fibres such as: kozo and gampi and I’ve even tried making sheets of paper using a traditional bamboo su mold with hinged deckle, but I could never really call it washi (Japanese paper). Now, thanks to Rogier Uitenboogaart and a visit to Kamikoya, that has all changed.
When I knew that I was coming to Japan, I realized this would be my chance to get professional training in nagashisuki (Japanese style papermaking). Two trusted sources both suggested I contact Rogier Uitenboogaart – Toshiro Hattori, an artist from Tokyo, that I met in 2003 at an international paper exhibition we were both part of in Appledoorn, Holland and Sarah Bertrand-Hamel, an artist from Montreal also working with paper, who contacted me out of the blue just before I left for Japan.
Rogier, Chikako and their son, Yohei run the papermaking studio and bed and breakfast, Kamikoya in the community of Yusuhara on the island of Shikoku. http://kamikoya-washi.com/ Rogier came to Japan some 30 years ago as a bookbinder, looking to know more about Japanese paper. He stayed and not only did he learn about washi, he became a papermaker and constant advocate and promoter of Japanese handmade paper. His work has been used by contemporary architects; his lamps are collector’s items, found in private homes and public gardens; his project to encourage the growth of the indigenous mitsumata and kozo plants (two of the fibres used to make washi) has been implemented in an upcoming roof-top garden-art project in Ginza, Tokyo.
I arrived early Monday evening the last day of March in Yusuhara, the last stop on the bus route from Kochi. Yohei picked me up and drove me the 20 minutes or so to Kamikoya, a series of wooden buildings set into the side of a mountain in the Shikoku Karst area. I was welcomed into the studio and guest room building and after taking my bags up to my room, I sat down with Rogier at the dinner table to plan our next few days together. Chikako served a fantastic meal of her home cooking. Chikako specializes in serving beauty for the eyes and the stomach, with spring greens and vegetables from her own garden and or picked from the wild. (please see part three for more about the food)
The next morning, I woke up early and went for a walk while everything was still quiet. Here are some videos and views from that walk.
Kamikoya Morning Walk Kamikoya Morning view Kamikoya Song Beside Mitsumata
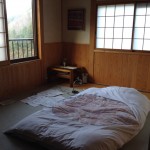
- The bedroom, all wood construction with handmade paper wallpaper!
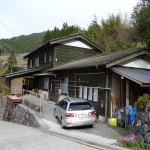
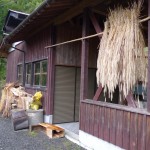
- Kamikoya studio
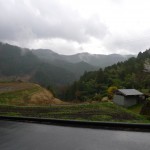
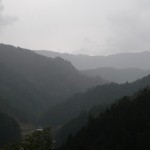
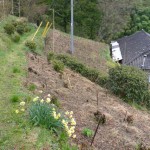
- A view of the area
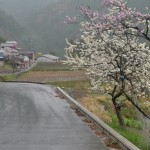
- Cherry trees in bloom on the road above Kamikoya
- A view of the mountains
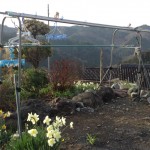
- A neighbour’s backyard
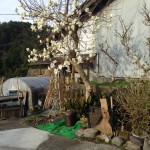
- A tulip tree in bloom
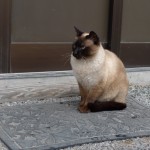
- Siepie, the Kamikoya cat
After breakfast, Rogier took me to see some kozo and mitsumata plants, the field beds where they grow and the adjoining studio building where the cooking and steaming of the plants is done.
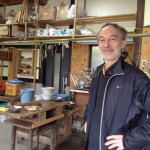
- Rogier Uitenboogaart
- Field of kozo (now harvested)
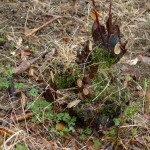
- Kozo stumps – harvested earlier this year
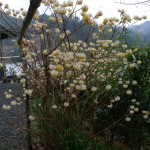
- Mitsumata in bloom
- Studio for steaming and cleaning fibres
- Fireplace for steaming bark
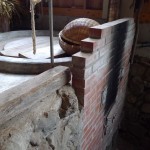
- Barrel for steaming
- Covered fire pit
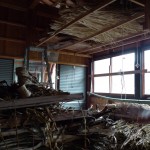
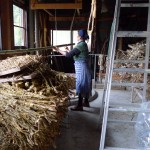
- Studio for steaming, cleaning and storing fibres
- Studio for cleaning and storing fibres
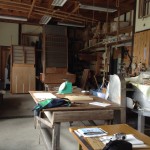
- View of studio interior
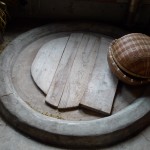
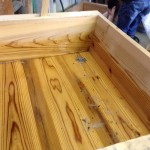
- Cedar vat
Then the real work began. I didn’t have to do any of the steaming of the bark off the branches of the kozo plants, nor the cooking of the fibres and the slow hard work of cleaning the fibres afterwards. That had all been done earlier in the year after harvest. Rogier informed me that much of that painstaking work is done by the older retired people of the community. So, for now, it looks like papermaking in Japan is subsidized by a group of people who like doing the work and who want to keep papermaking alive in Japan. What will happen in the future when these people are no longer around? It’s hard to say.
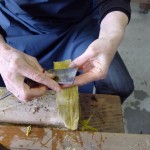
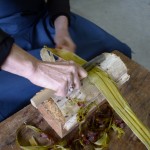
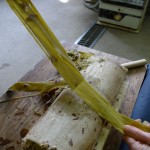
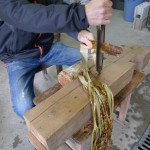
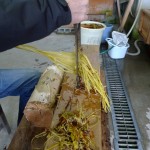
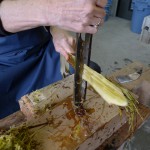
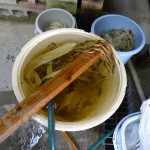
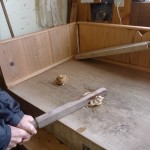
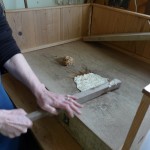
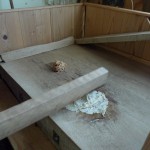
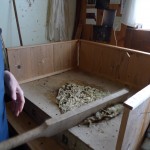
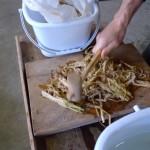
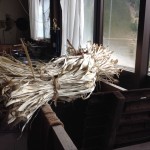
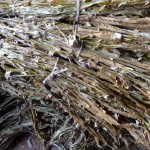
Rogier had me start by doing some cleaning of both kozo and mitsumata fibres using a knife for kozo, which is a one-stalk fibre and a special knife with a clamp for the multi-branched mitsumata fibres. This was followed by cleaning and rinsing in running water. If papermaking is what it is today in Japan, much is owed to a constant supply of fresh, cold water. This mountain supplies a lot and it was tasty! The next step was beating the fibres. Rogier made me organize and count the strikes in a series of patterns (something I am not very good at – numbers and counting!) but I managed to make it ready to go. Some advice from Rogier – never freeze beaten pulp if you want to use it for sheet forming – it will clump and you will need to beat it again.
- Using the knife to slowly separate the outer bark from the inner bark
- scraping bark off kozo
- Peeling bark
- removing mitsumata bark
- Removing mitsumata bark
- Removing mitsumata bark
- Cleaning and rinsing fibres
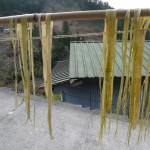
- Hanging cleaned fibres out to dry
- Beating fibres
- Beating fibres: 1,2,3,4, then move to the left, repeat,
- Beating fibres, right to left, repeat 3-4 times
- Beating fibres
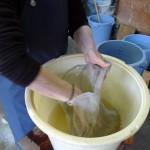
Once the pulp is beaten, rinse it well in cold water. Preparing the neri is the next step. Neri is a root vegetable from the hibiscus family. Rogier grows enough in his garden to supply his own needs. At home, I have always had to use a synthetic substitute, now I will have to check to see if there is an equivalent indigenous plant.
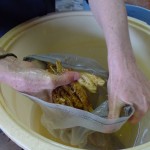
- the roots are in a net bag submerged in water
- Beat the roots to bring out the neri
- place roots in net bag in water
- checking for that lovely gelatinous neri texture
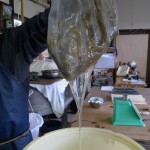
The next stage is preparing the vat for papermaking, mixing the beaten fibres into the water and adding the neri. Not enough neri and the fibres will not remain suspended for easy papermaking; too much neri and it will take too long for the water to drain from the mold, making a very thin paper.  Strain the neri and add to the pulp. A brisk mixing stroke not unlike paddling a canoe and that unmistakable, thick rippling sound and heaviness of the water will indicate the presence of neri in the pulp. Percentages of fibre to water and neri to pulp, I can’t give in numbers. I always just start pulling sheets and you can tell by the amount of fibre remaining in the mold.
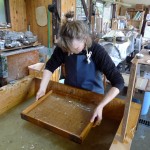
The essential difference between, Nagashisuki- the Japanese style of papermaking and Tamesuki- the western style is revealed in the names: naga meaning to throw and tame meaning to keep. In Nagashisuki, the paper sheet is slowly made by building up successive thin layers of fibre and throwing off the excess until the desired thickness and construction is reached. In Tamesuki, the sheet of paper is made in one dipping and kept on the mold until it has drained sufficiently for the sheet to be couched onto a felt backing. It is the neri in the pulp and the construction of the mold and deckle that have helped develop the Japanese way of making washi. It also facilitates the stacking of the sheets of paper and their easy separation after pressing. Here is a video of Rogier demonstrating Nagashisuki. Kamikoya making paper
The first papers I made at Kamikoya were of kozo fibre with bark bits. Kozo is ideal for making sheets of paper. It is whiter, stronger with a longer fibre and has a lustre that is irresistible. It is approximately 1 cm. long and is finer than a hair. Mitsumata is .4 cm. in length and makes a darker, more brittle, opaque paper. 50 gm. wet pulp (gently squeezed) makes approximately 15 gm. dry paper.
- Kozo fibres ready for cooking
- silk mulberry fibre ready for cooking
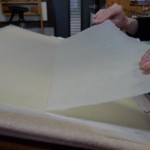
Once a sheet in the su is made to your satisfaction, turn around to face the couching table which should be placed just behind the place where you are pulling sheets from the vat. The sheets of paper are couched one on top of the other with a thread placed at one end and between every sheet. Holding the bottom of the su with your left hand and the top with your right, drop the bottom side of the su onto the pile of paper and use the edge of the su to aline it with notched posts and markers, this way each sheet will fall perfectly on top of the previous. A gentle push down with both hands onto the edge of the su closest to you and then a sure and quick lift up of the wooden edge, folding it backwards and then lifting up should release the edge of the paper, leaving the new sheet stuck to the previous. Slowly lift the su away from you, gently releasing the sheet of paper and checking as you go to make sure no fibres are sticking to the su. Once finished placing the sheet of paper, lift the su up and swing it to the side away from the post of paper. This way no water drops onto the paper or if you accidentally drop the su, it does not fall on the pile of paper. Repeat, remembering to add pulp and neri as needed. 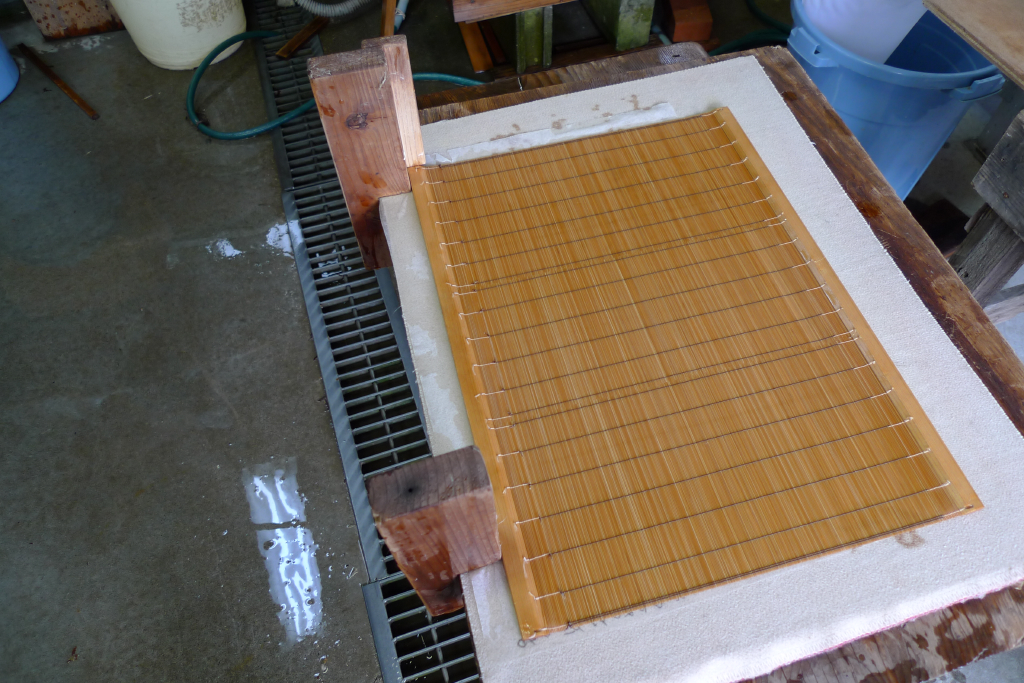
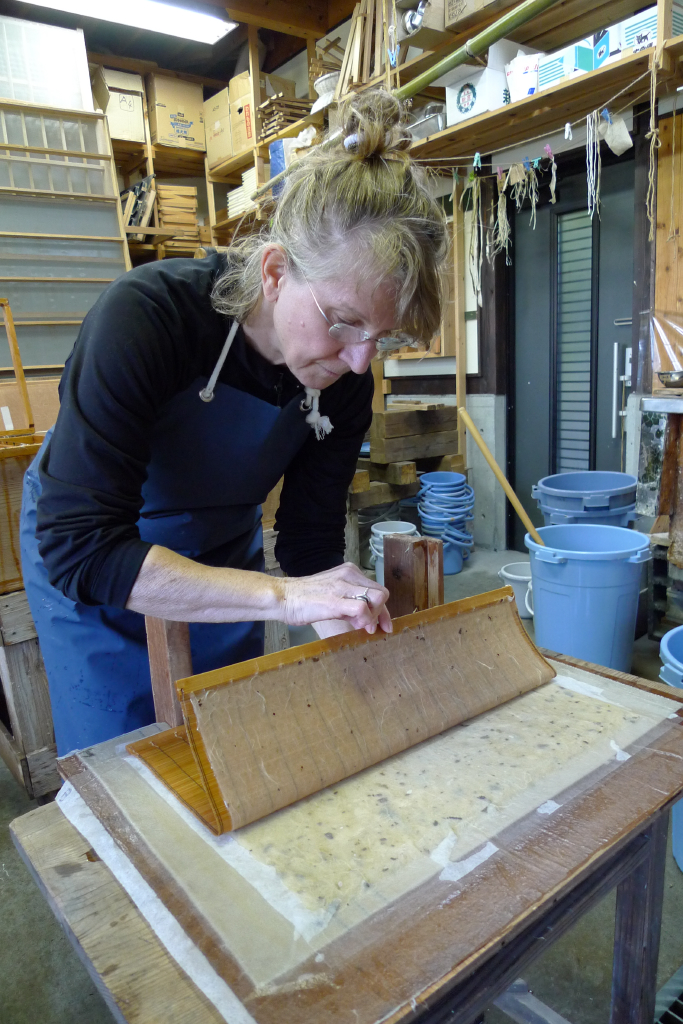
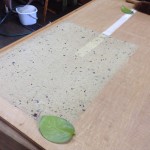
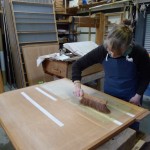
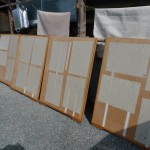
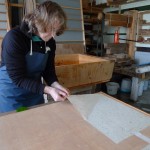
The pile of paper is preferably left to settle overnight. The next day it is placed in the press to remove excess water. Pressure must be increased in increments and the felts can be changed to speed up the process. As soon as the paper is dry enough, it can be brushed onto wooden panels to dry. Rogier had me place a thin line of wheat paste glue on the edge of each sheet before removing them from the post to the panel. The thread helps to separate the sheets. Gently pull a sheet off the pile and brush it onto the panel. Press the edge of the sheet down with a camelia leaf. Once the panels are full, put them outside in the sun to dry. Keep an eye on them, they can dry too quickly or unevenly, or rain can start without warning!!
- Me pulling a sheet of paper Nagashisuki style
- Lifting a sheet of wet paper off the pressed post
- Camelia leaf for pressing edges
- bushing a sheet onto a wooden panel
- panels out to dry in the sun
- Removing a sheet of dry paper
- Post of sheets resting overnight, ready for pressing
- Rogier preparing to press the papers
I found learning the Nagashisuki technique challenging. It will take me much practise once at home to feel any sense of mastery. My piano teacher has been working to release the rigidity in my wrists for several years now and I saw that this was also a problem for maintaining a clean, supple movement when dipping the su into the pulp. I have a tendancy to try to go too fast and the consequence is jerkiness. Go slowly and smoothly.
next post: more about my work at Kamikoya and Chikako’s amazing cooking
other useful links about papermaking in Japan : http://www.awagami.com/
